First Steps
Navigate To Webmaser GUI
1) Navigate to https://your-web-master-host-ip (or the appropriate DNS entry) using a browser (we recommend using the latest version of Firefox or Chrome)
2) Accept SSL exception
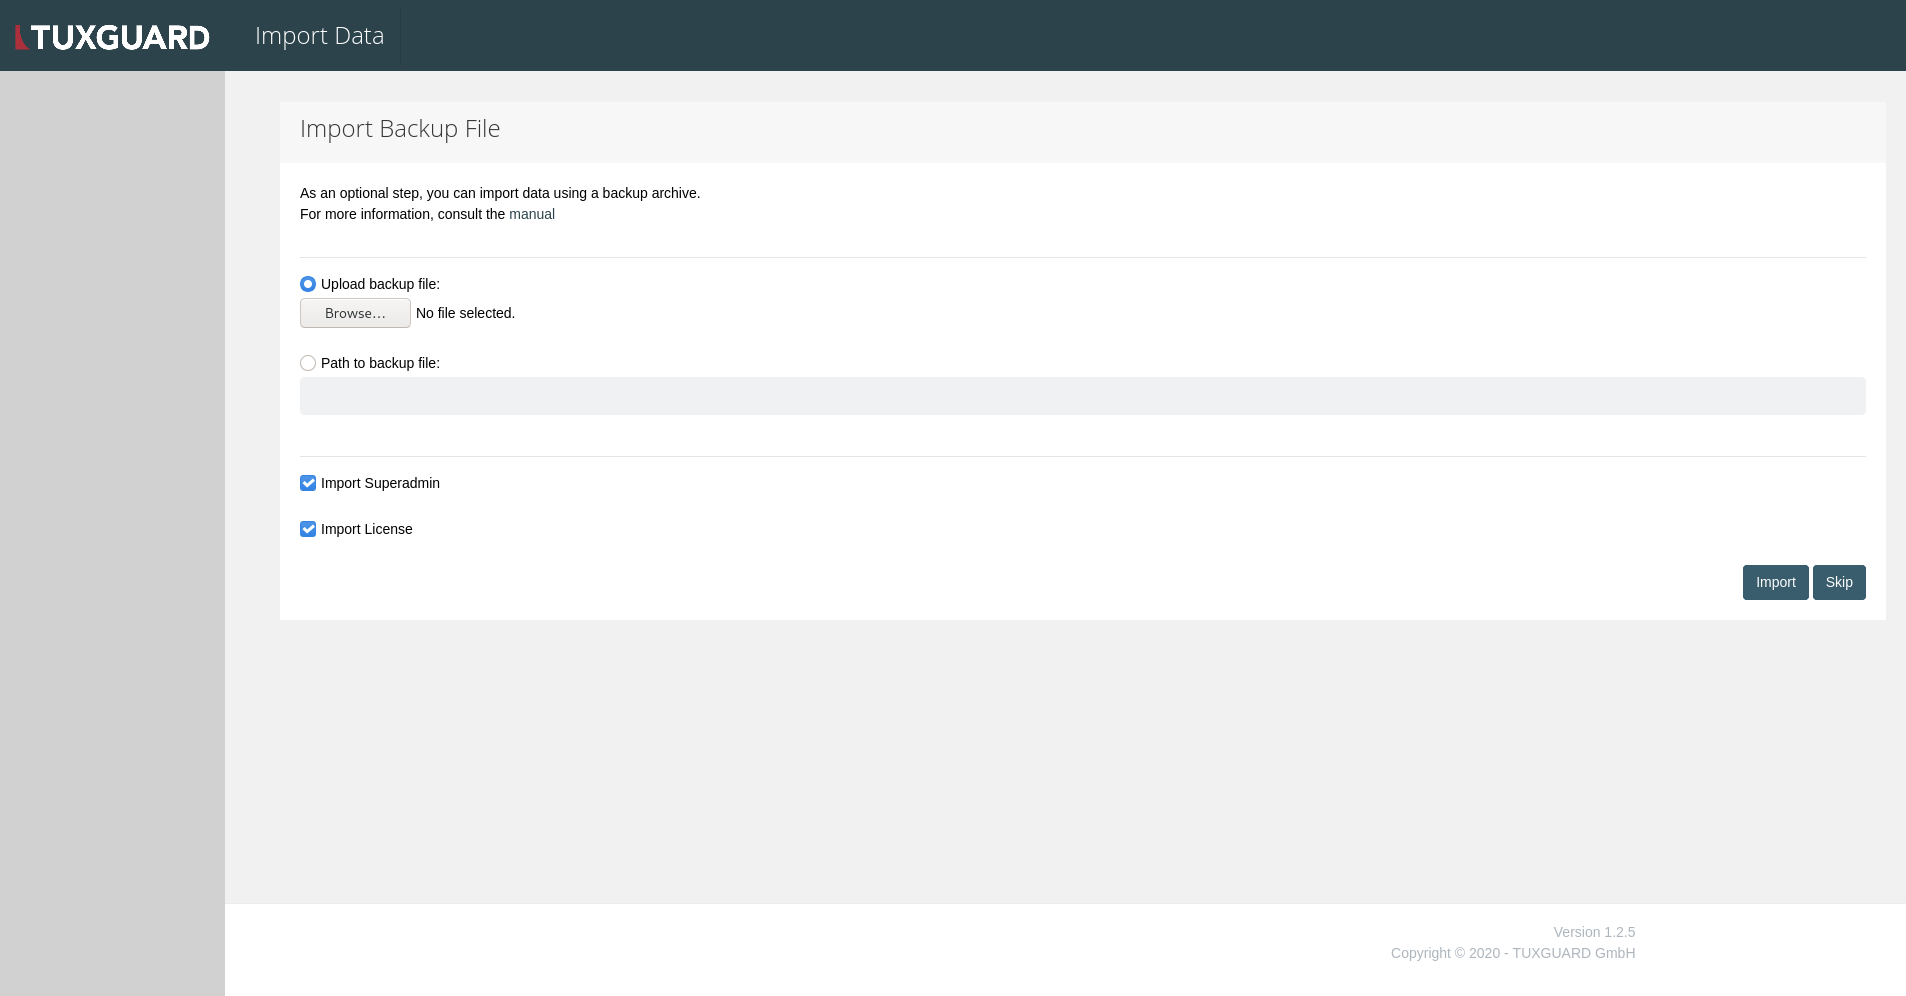
Import Backup File (optional)
3) A screen allowing importing a backup file will appear (more Information here), you can skip this step by clicking the "Skip" button on the bottom right
Import License
4) The next screen allows the import of a license file, either by uploading a .json file or copy-pasting the license content into the text-area.
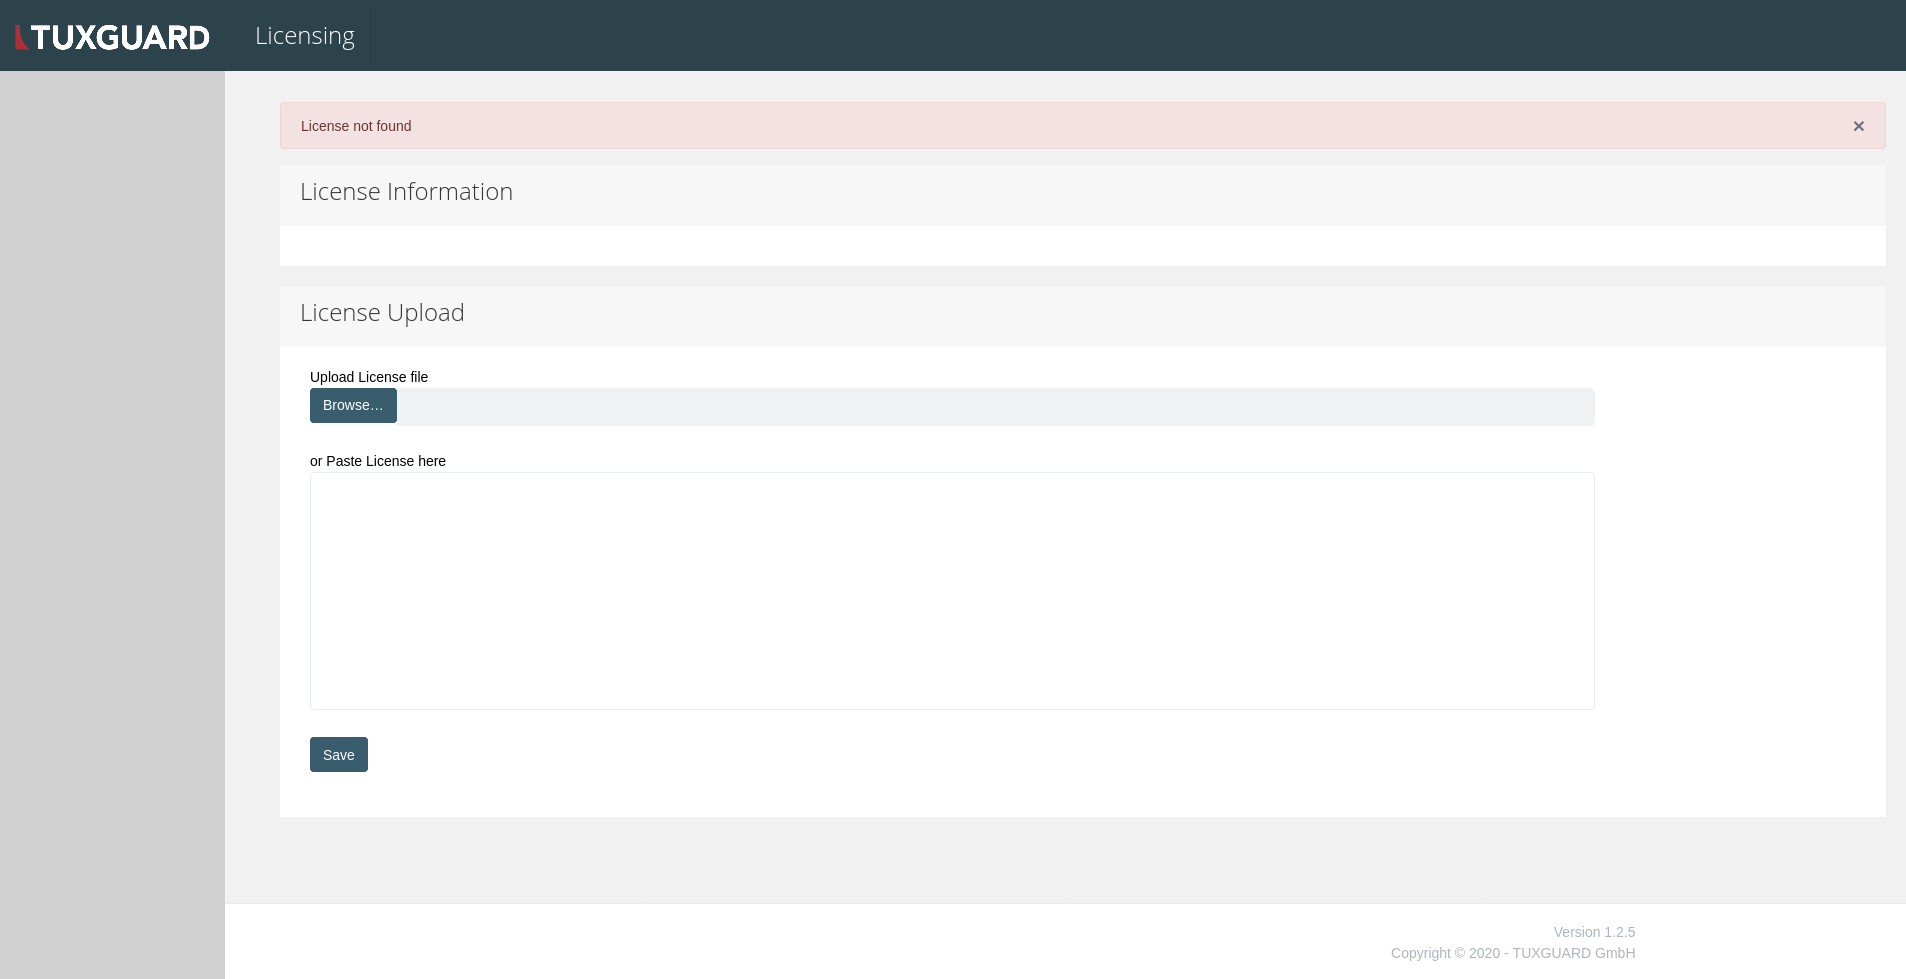
You can apply your license by pressing the "Upload" button on the bottom right.
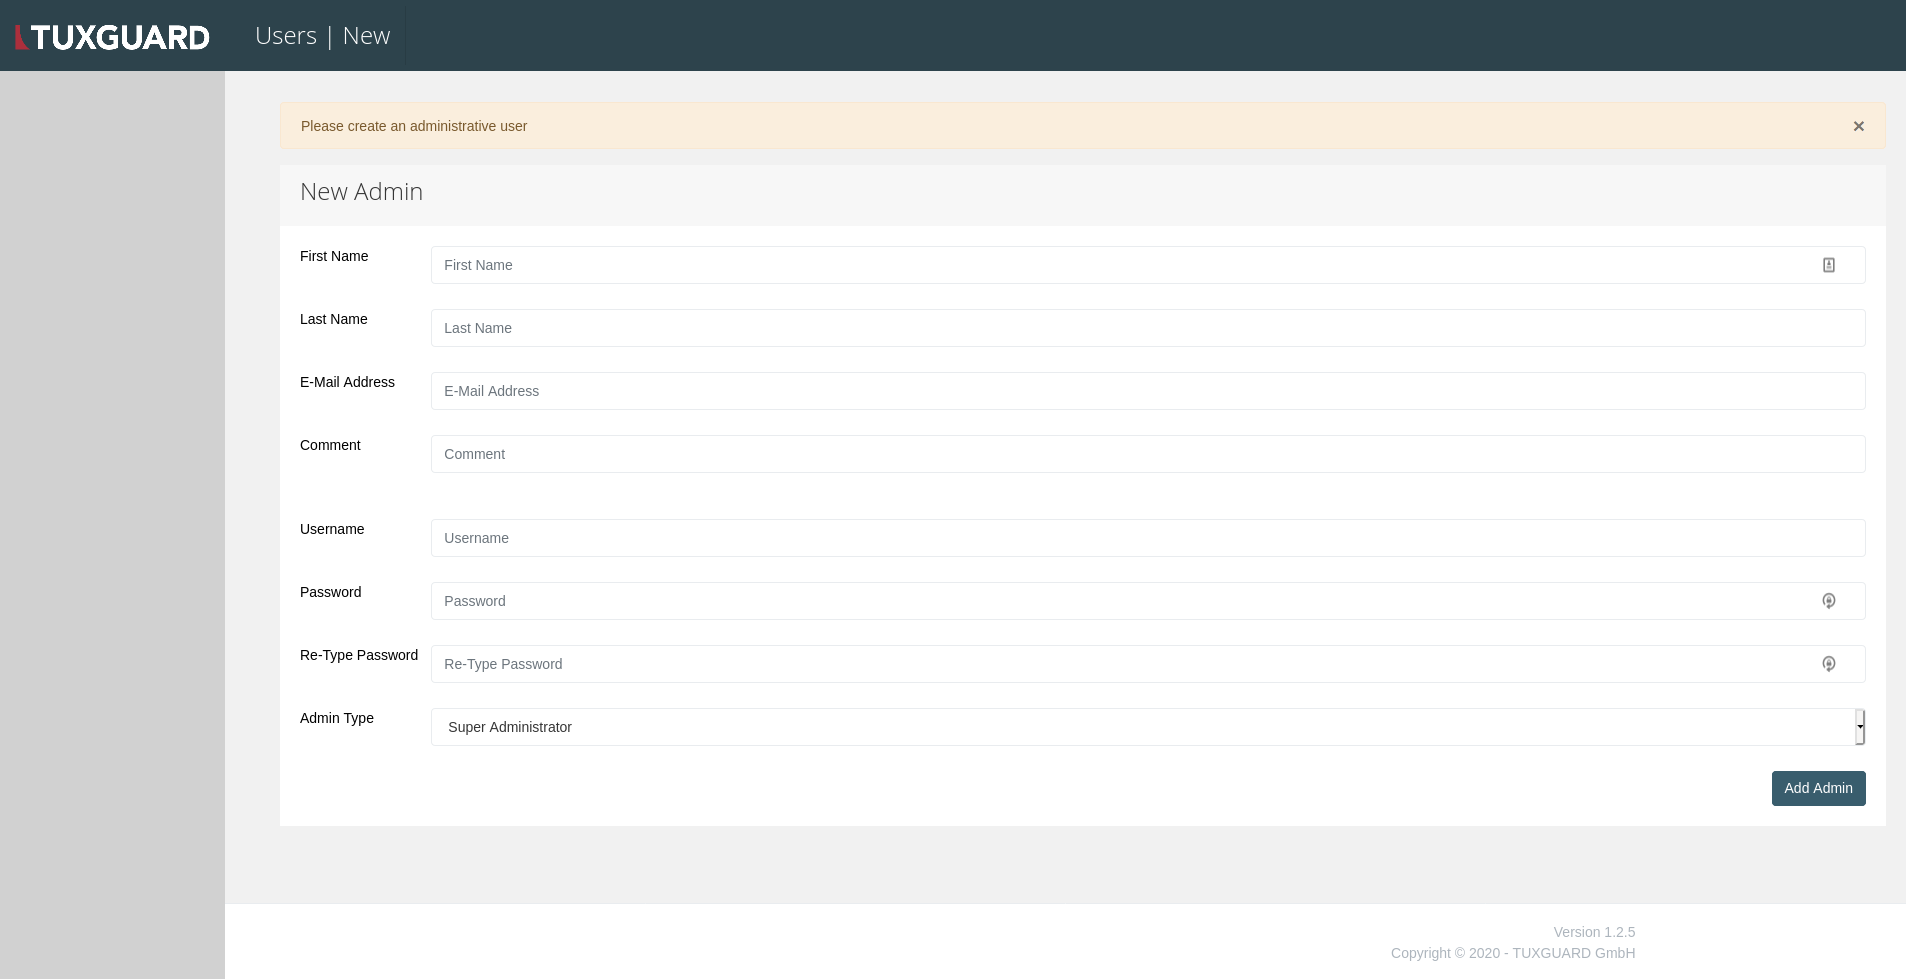
Create Initial Superadmin User
5) In the following view, you can create an initial Superadmin user by filling out the form.
6) Now, the Login view should appear and you can login using your previously created superadmin user credentials.

Add TLS Private Key And Certificate
Navigate to "Configuration" -> "Mail Server Core" -> "Core" Tab where the TLS private key and certificates for usage by the MTA can be set. More information here.
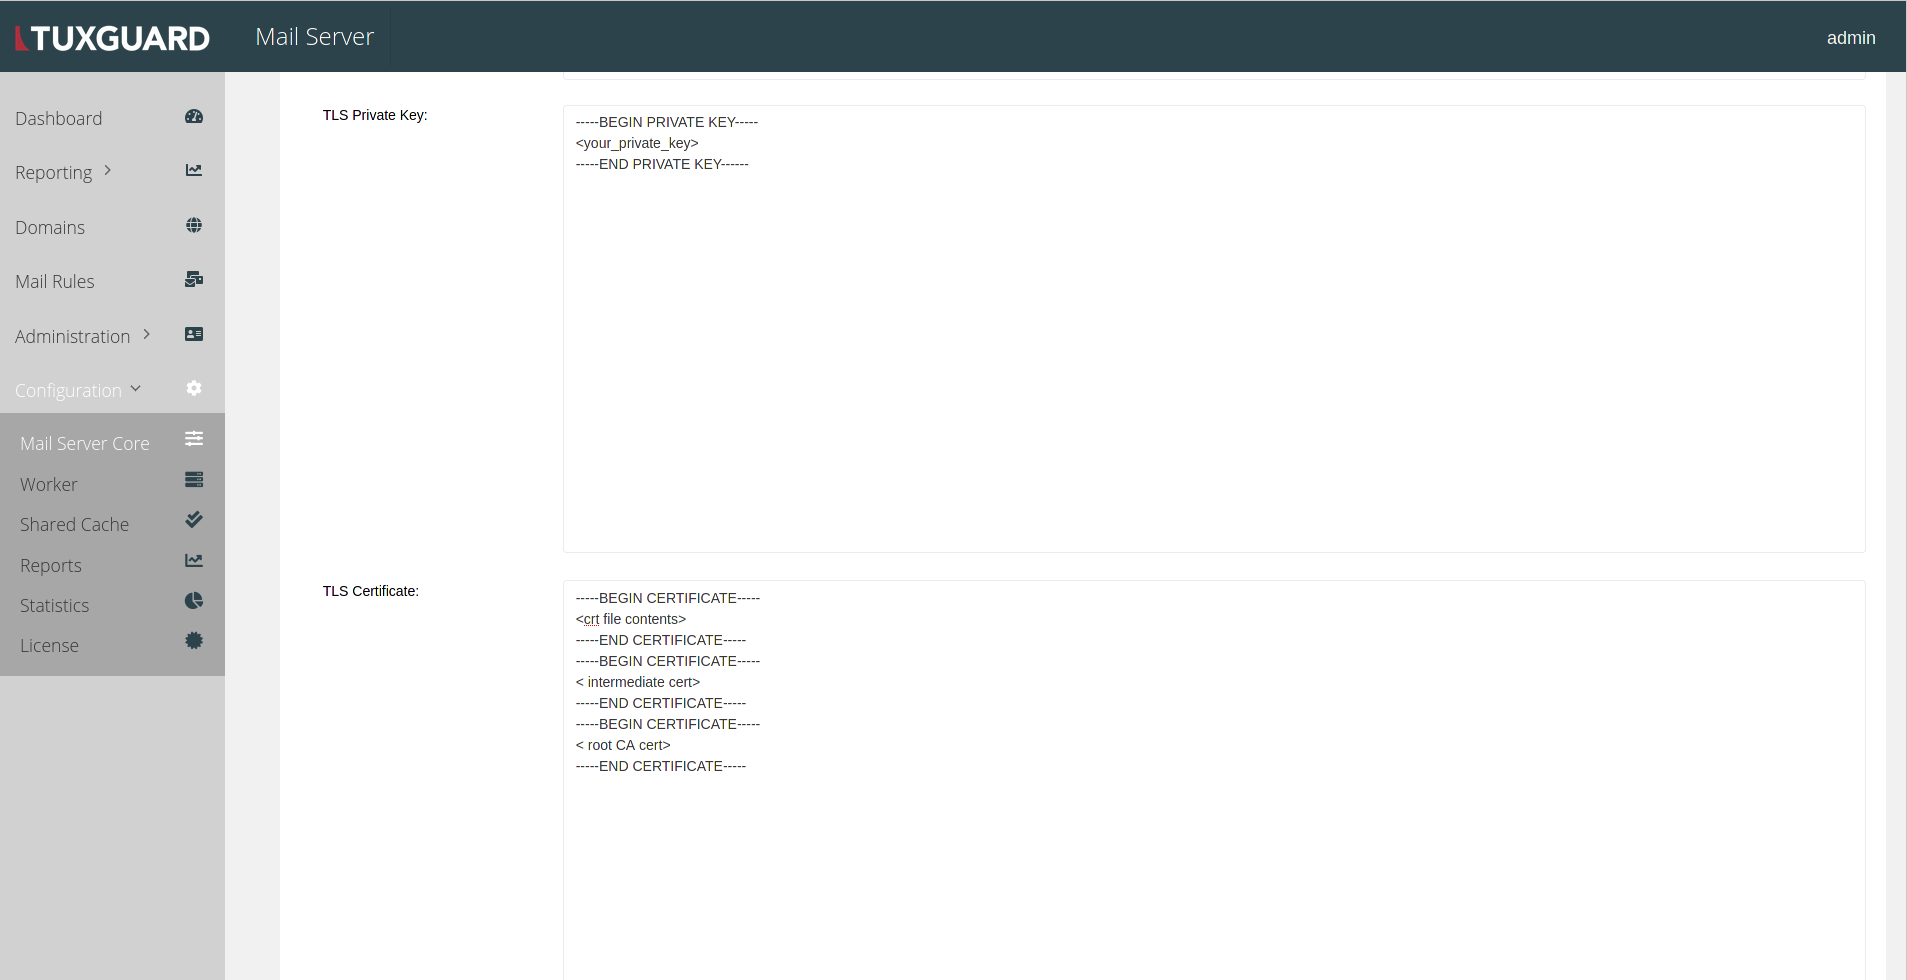
Press the Save button to review and Update your configuration.
Set Up Filterlists
Navigate to "Configuration" -> "Mail Server Core" -> "Pre-DATA Checks" Tab in order to setup DNS filterlists.
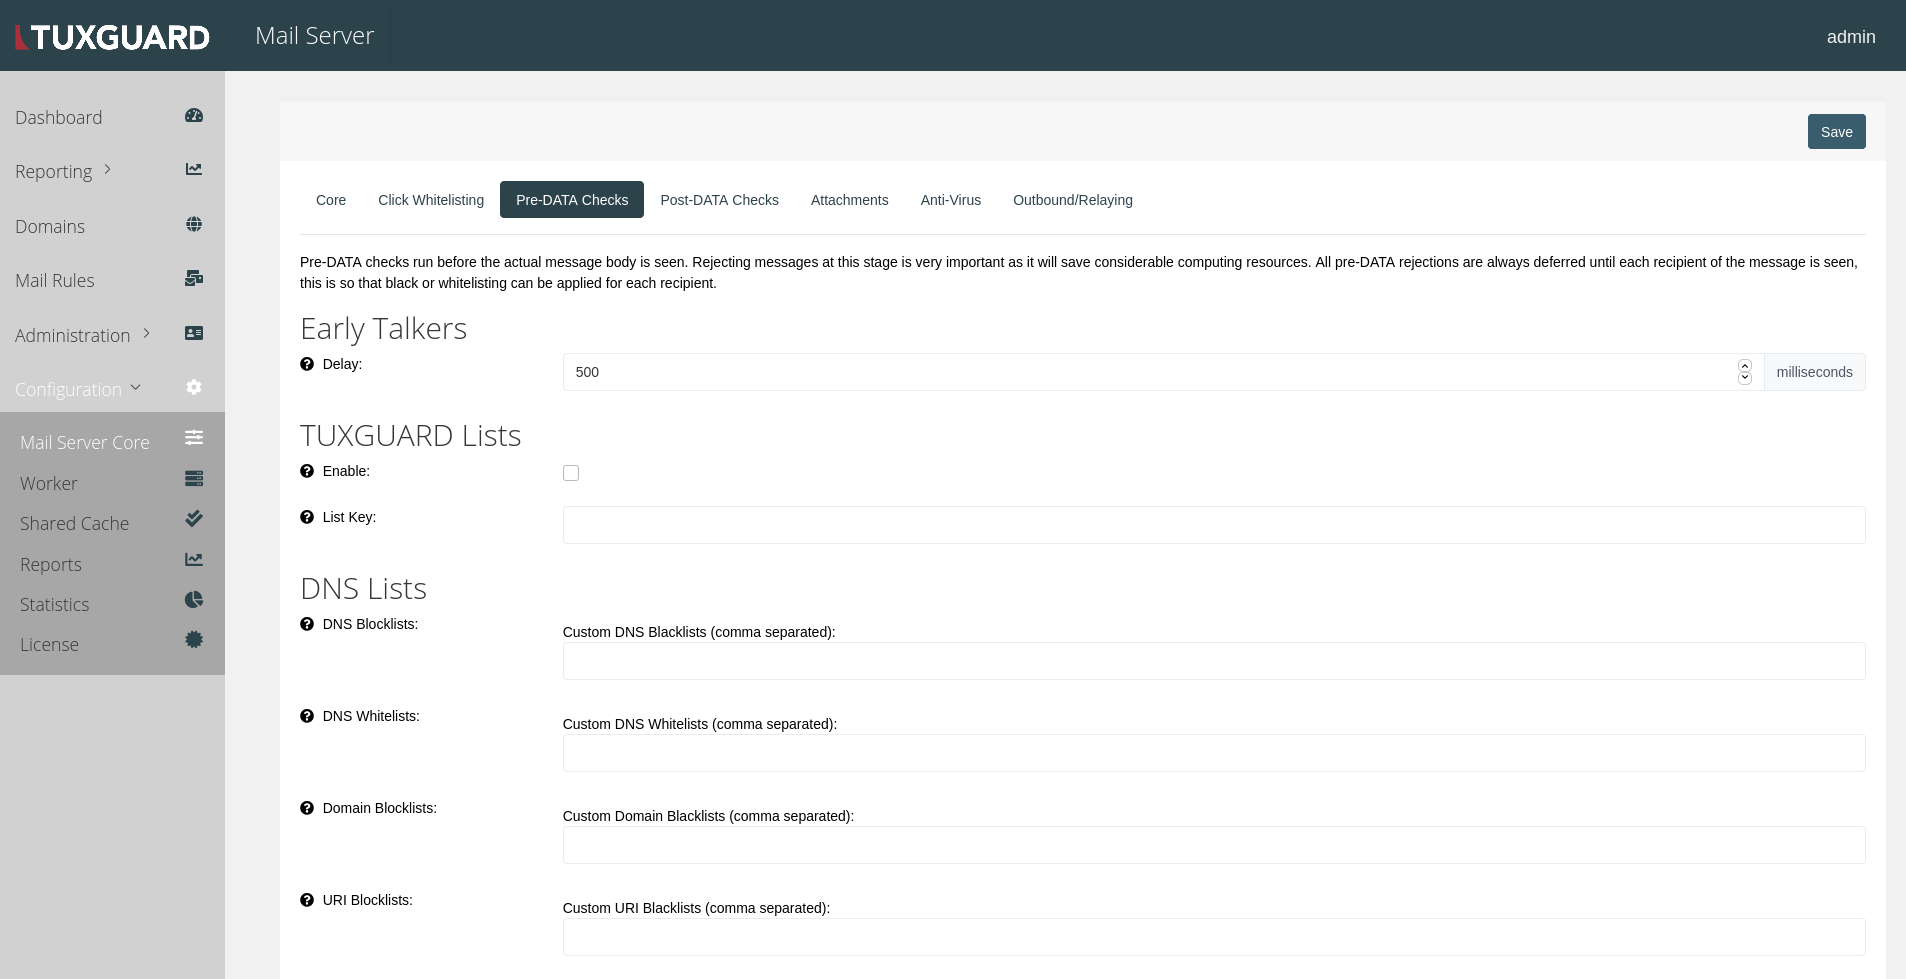
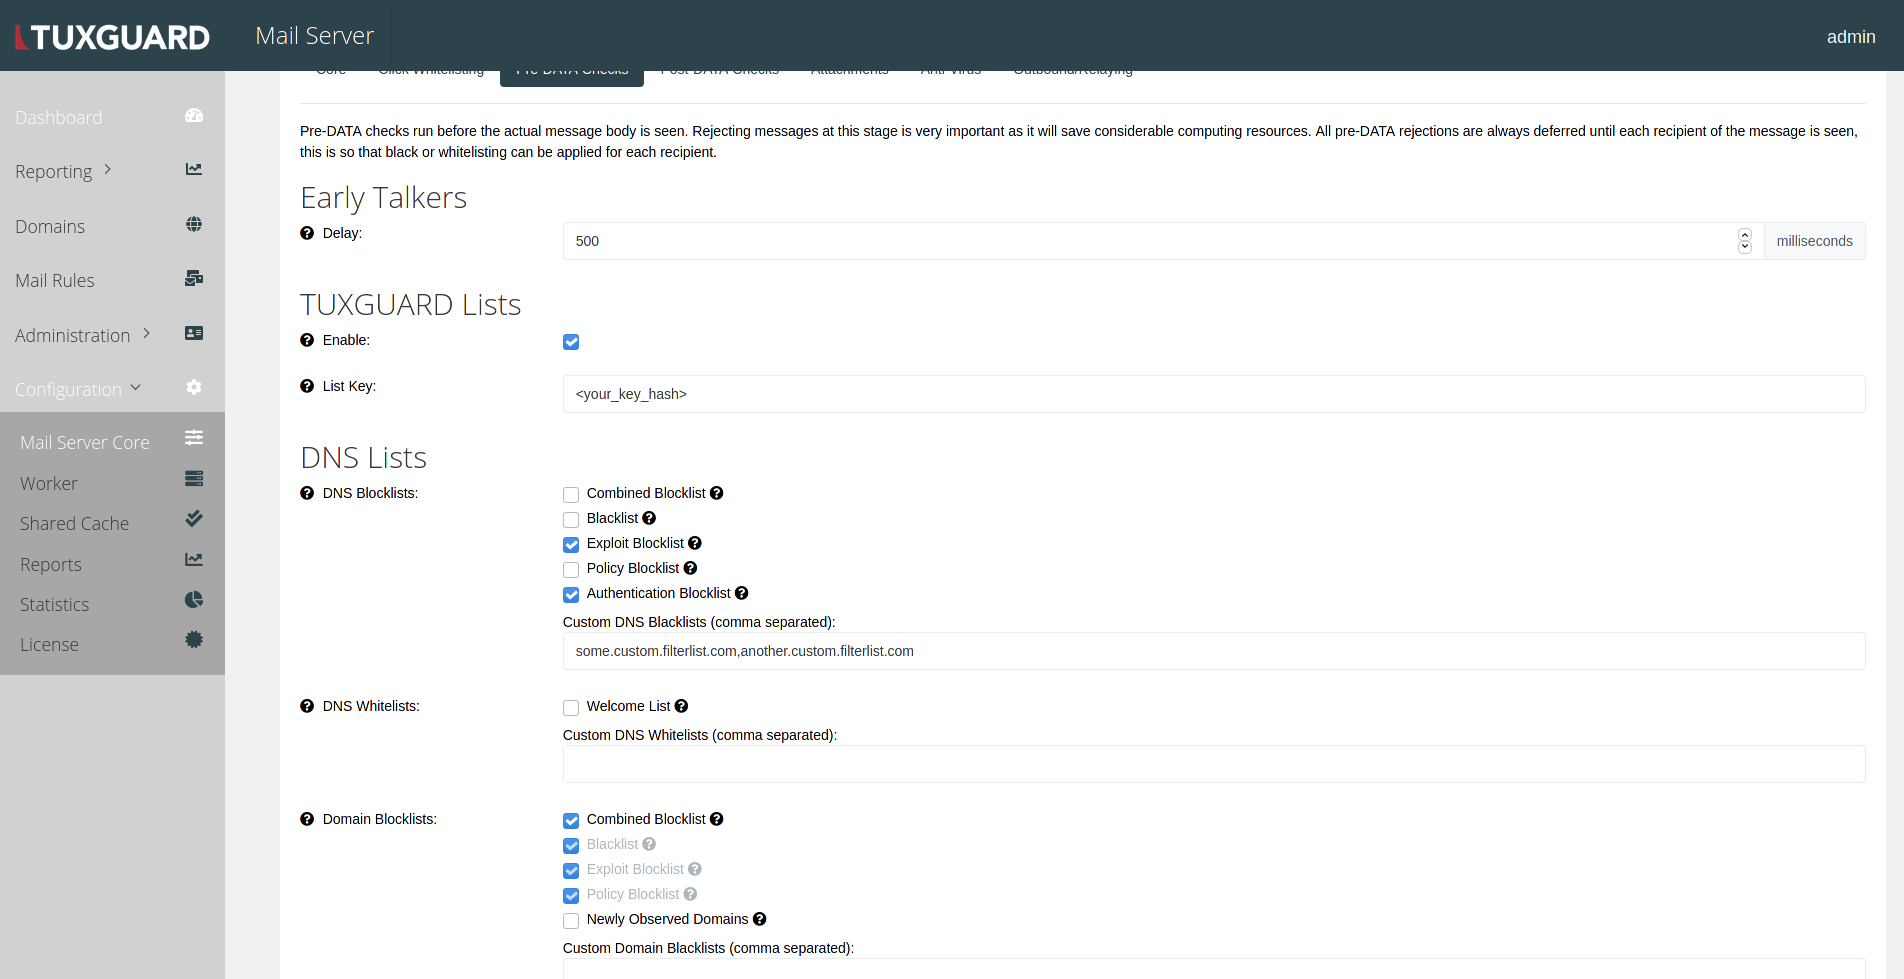
In case you have been provided a license key hash for filterlists, enable the "TUXGUARD Lists" checkbox and enter your key in the "List Key" input.
Lists can be then activated by checking the corresponding checkboxes inside the "DNS Lists" section.
Custom lists can be added as a comma separated string in the field below the checkboxes (in the screenshot below, we added "some.custom.filterlist.com" and "another.custom.filterlist.com" to be used as DNS Blocklists.
Press the Save button to review and Update your configuration.
Create Supervisor And Customer
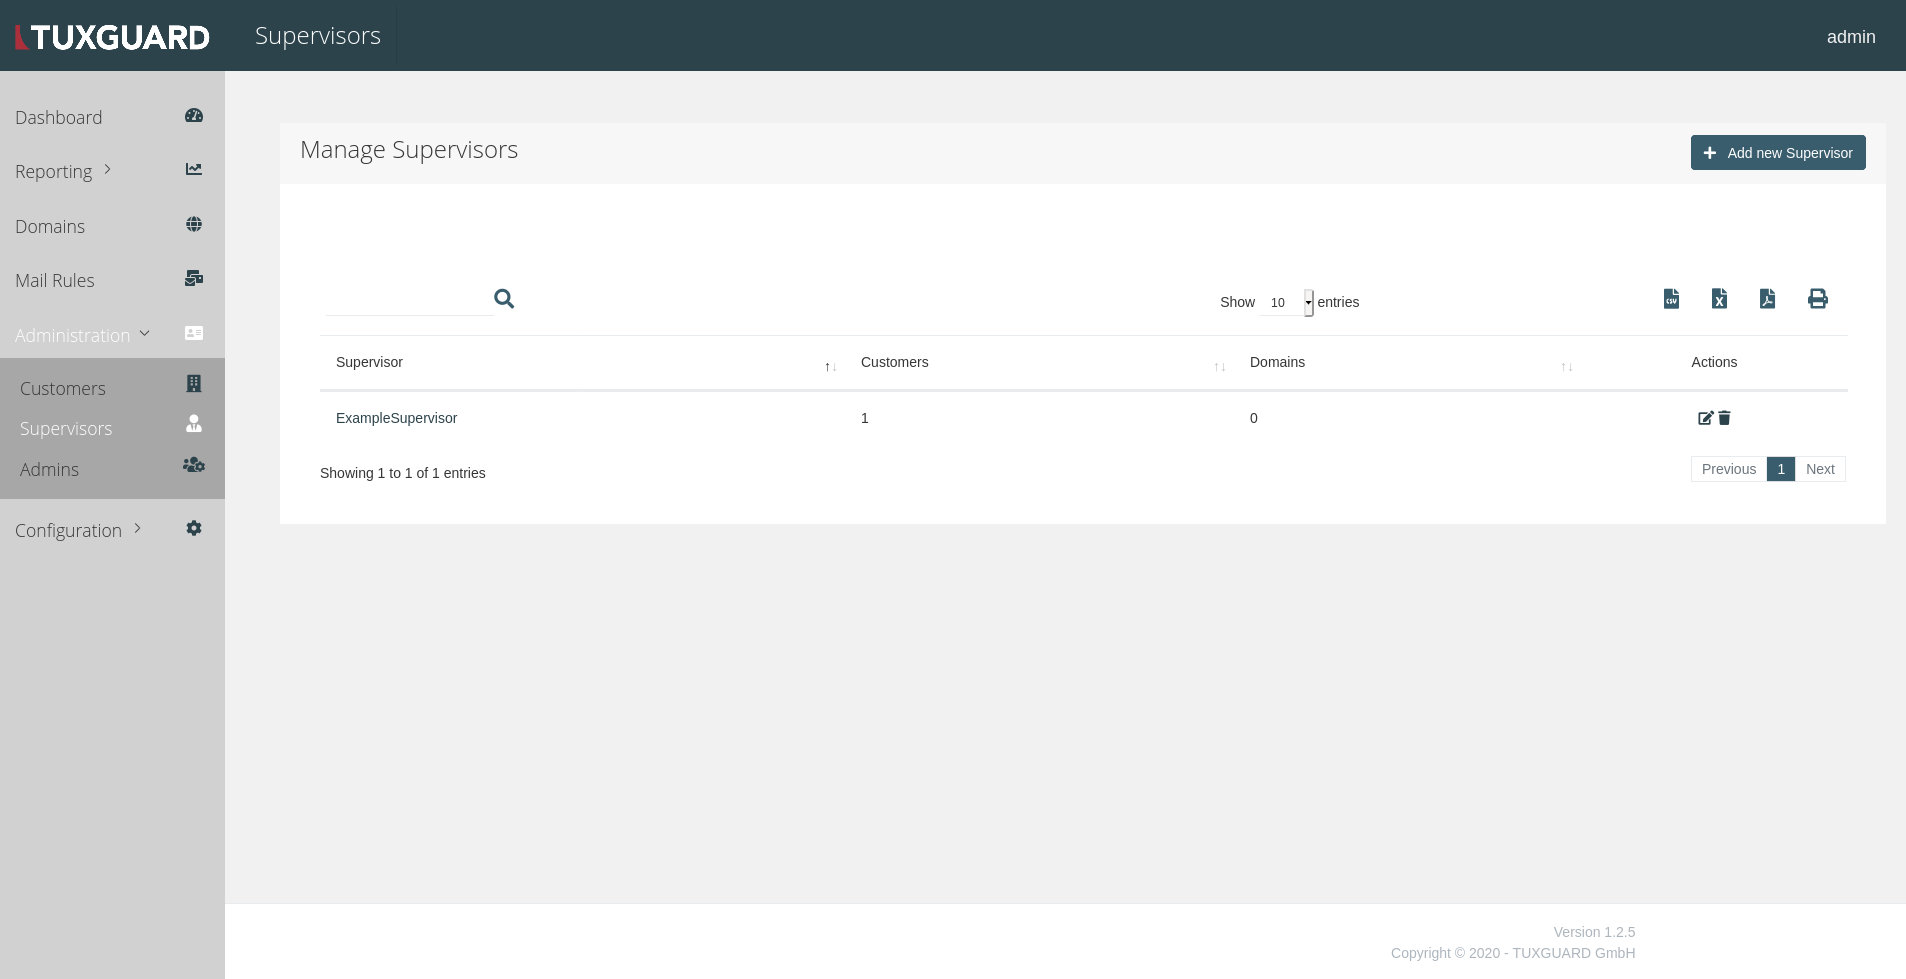
In order to be able to setup a first domain, we need to create at least one Supervisor and a related Customer.
First navigate to "Administration" -> "Supervisors" and click on the "Add new Supervisor" button on the top right. Fill out the form and save.
Next, navigate to "Administration" -> "Customers" and click on the "Add new Customer" button.
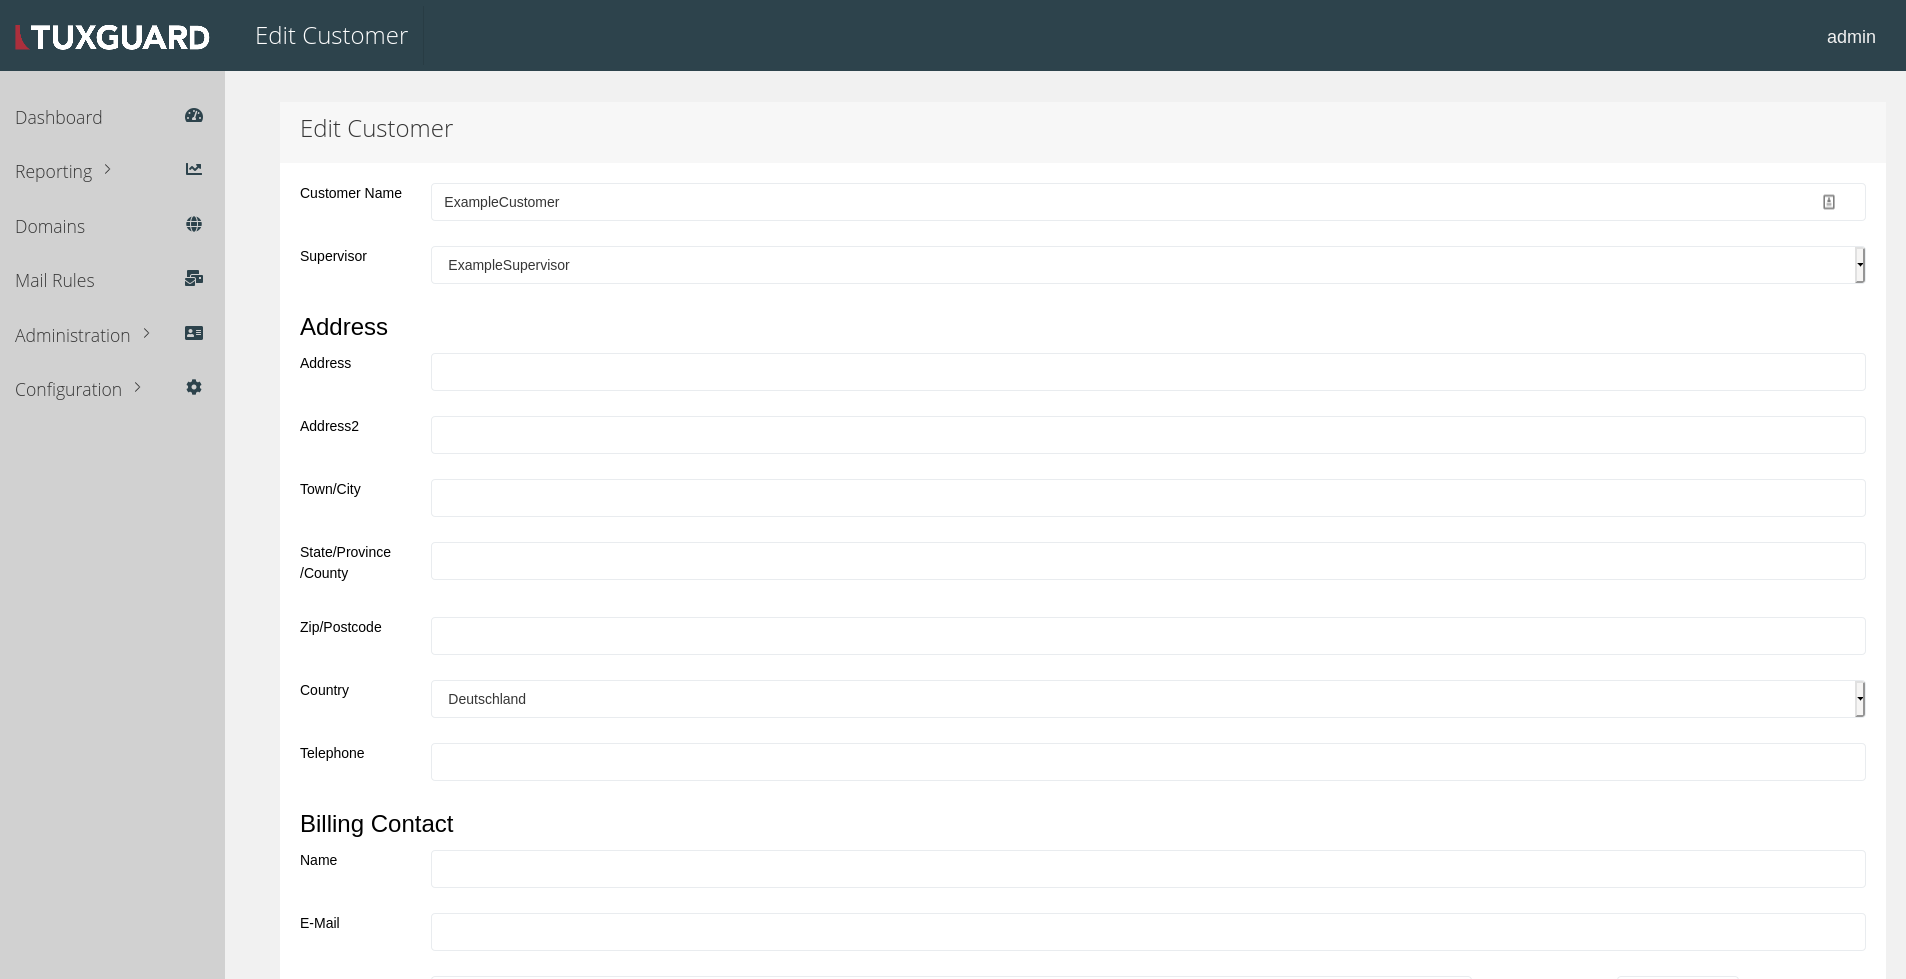
Fill out the form, set the "Supervisor" field to the previously created Supervisor and save.
Create Domain and Connect To Your Mailserver
To create a first domain, navigate to "Domains" and click on the "Add new domain" button.
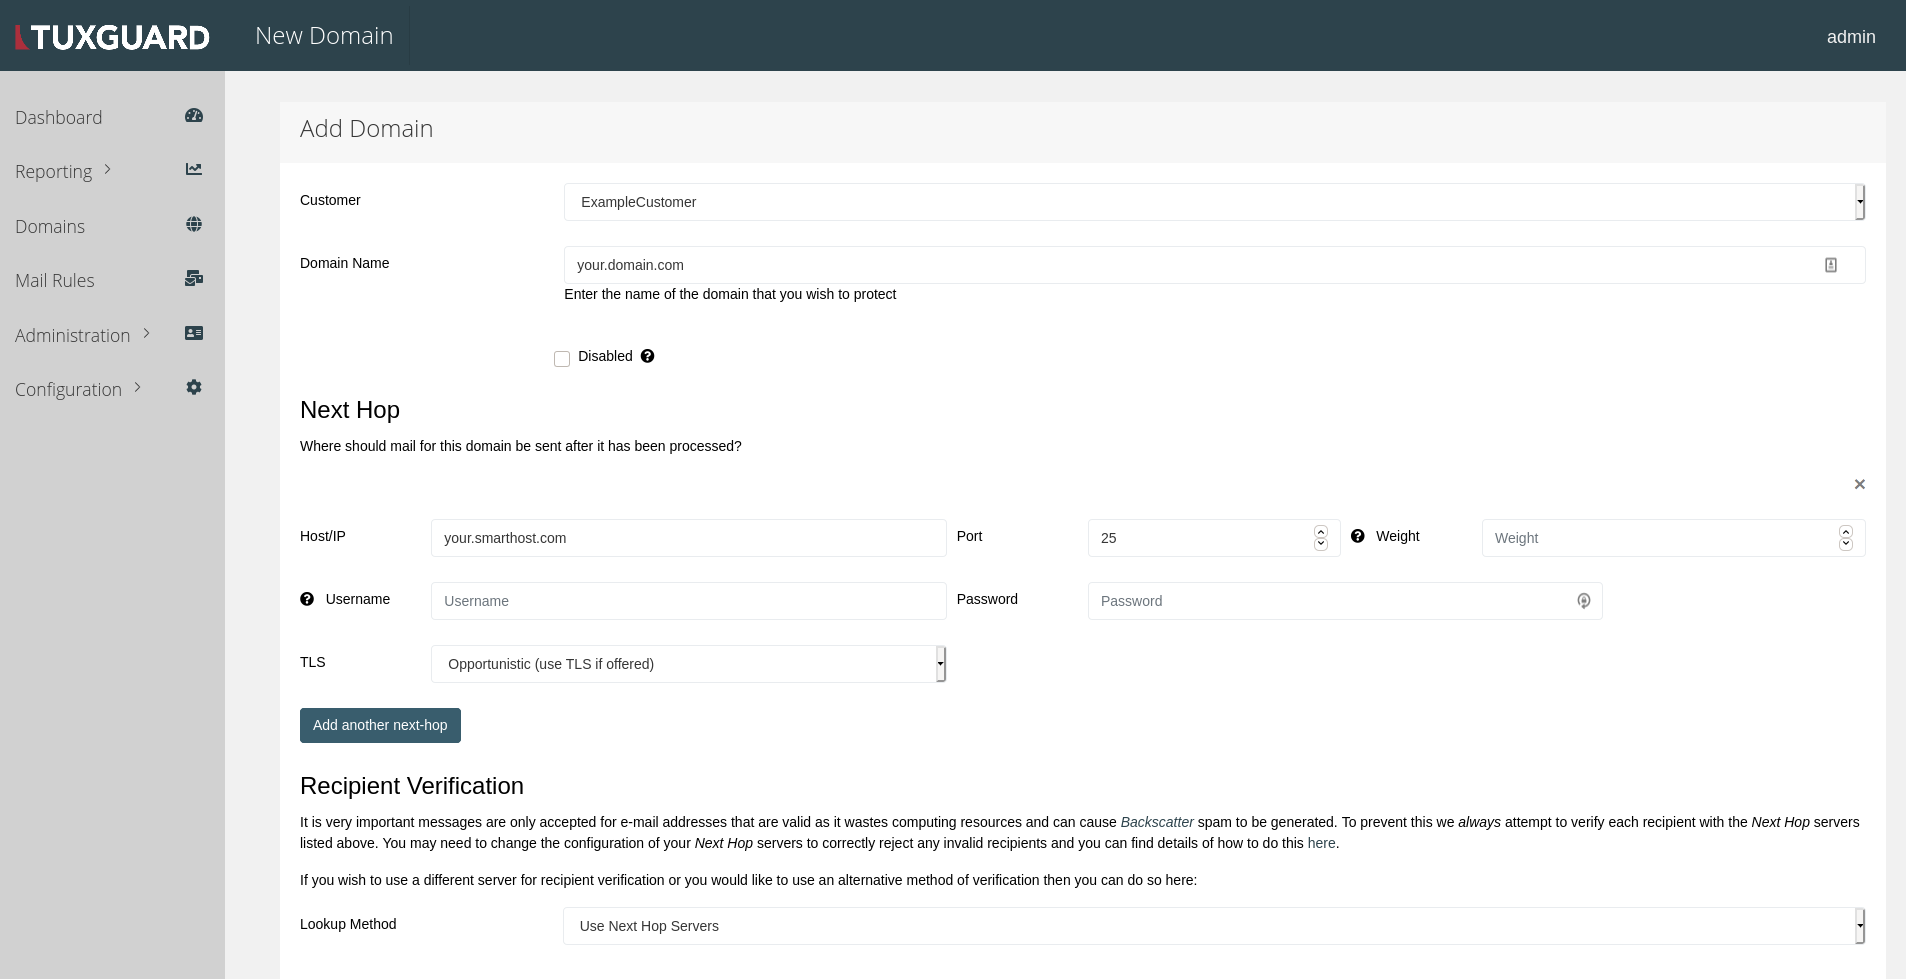
Select the previously created Customer and enter the domain FQDN into the "Domain Name" field.
In case this domain should be relayed to a smarthost, also enter its FQDN or IP-Address into the "Host/IP" field under "Next Hop".
Authentication credentials, target port and TLS offer behaviour can also be set here.
Save the domain and it will appear in the domain table
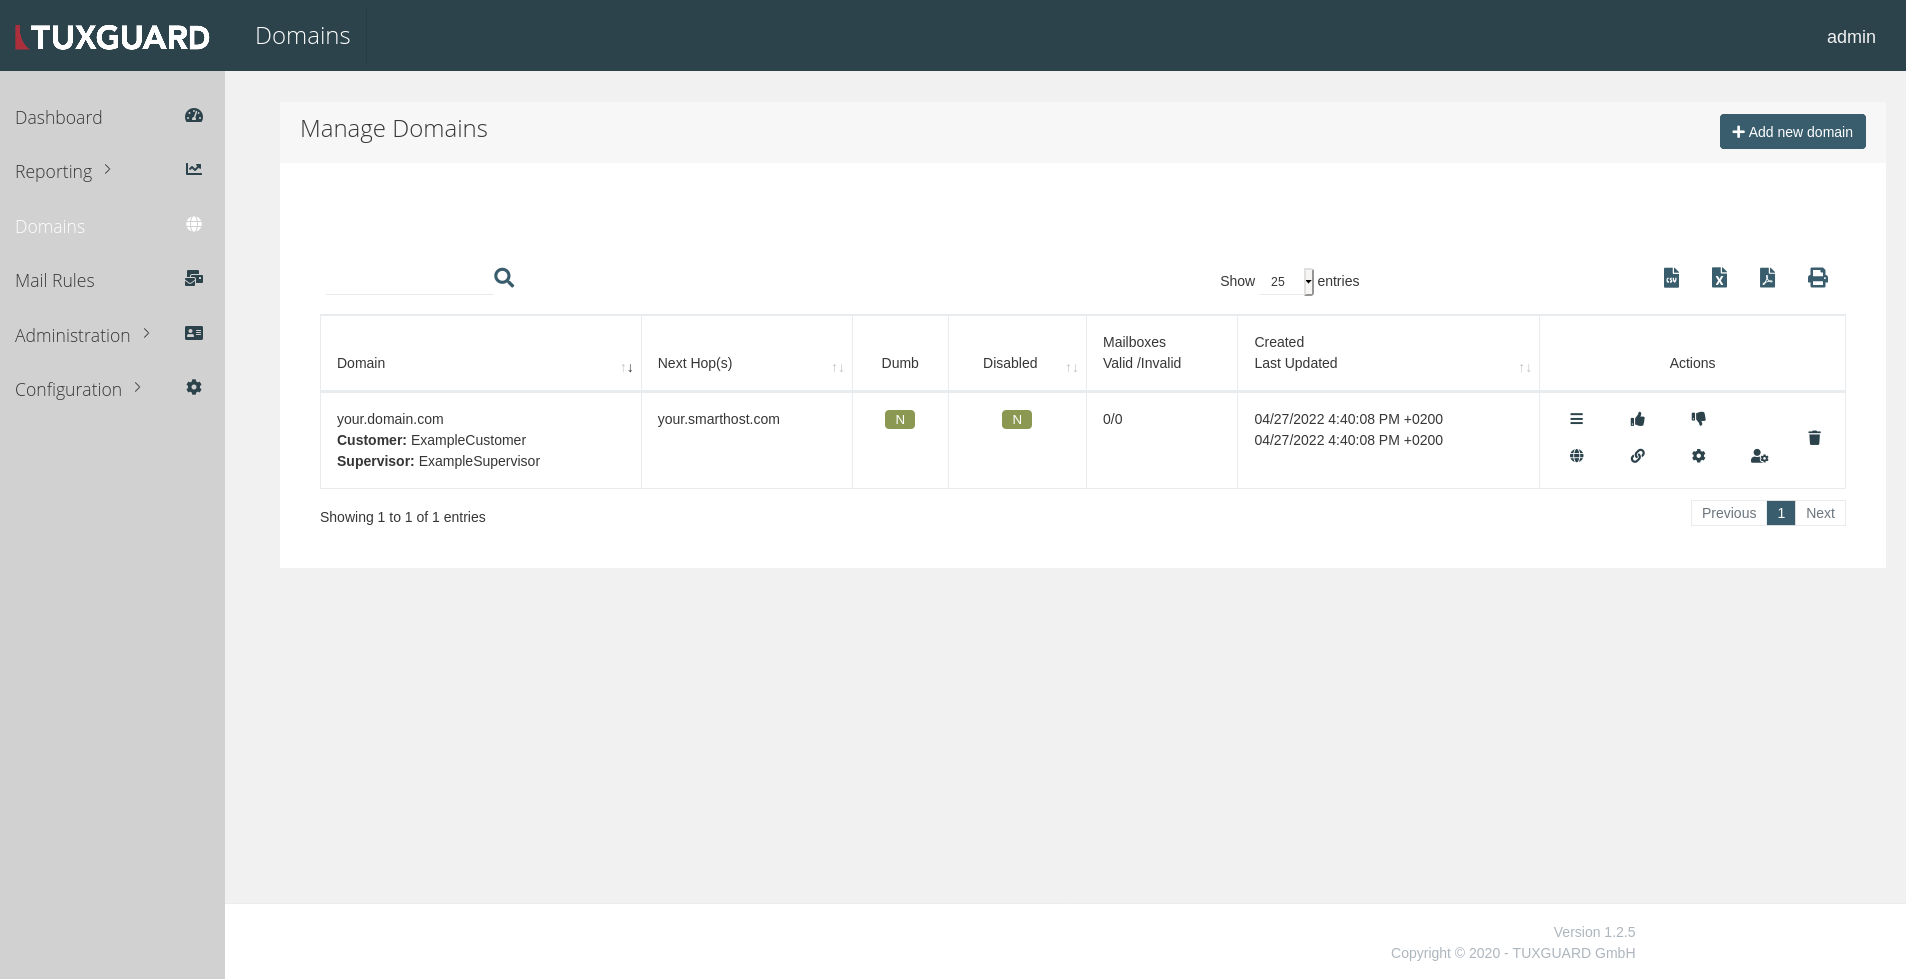
In order to allow relaying to the previously configured Next Hop host, we need to set a Mail Rule to allow it.
Navigate to "Mail Rules" and click on the "New Map Entry" button to access the form:
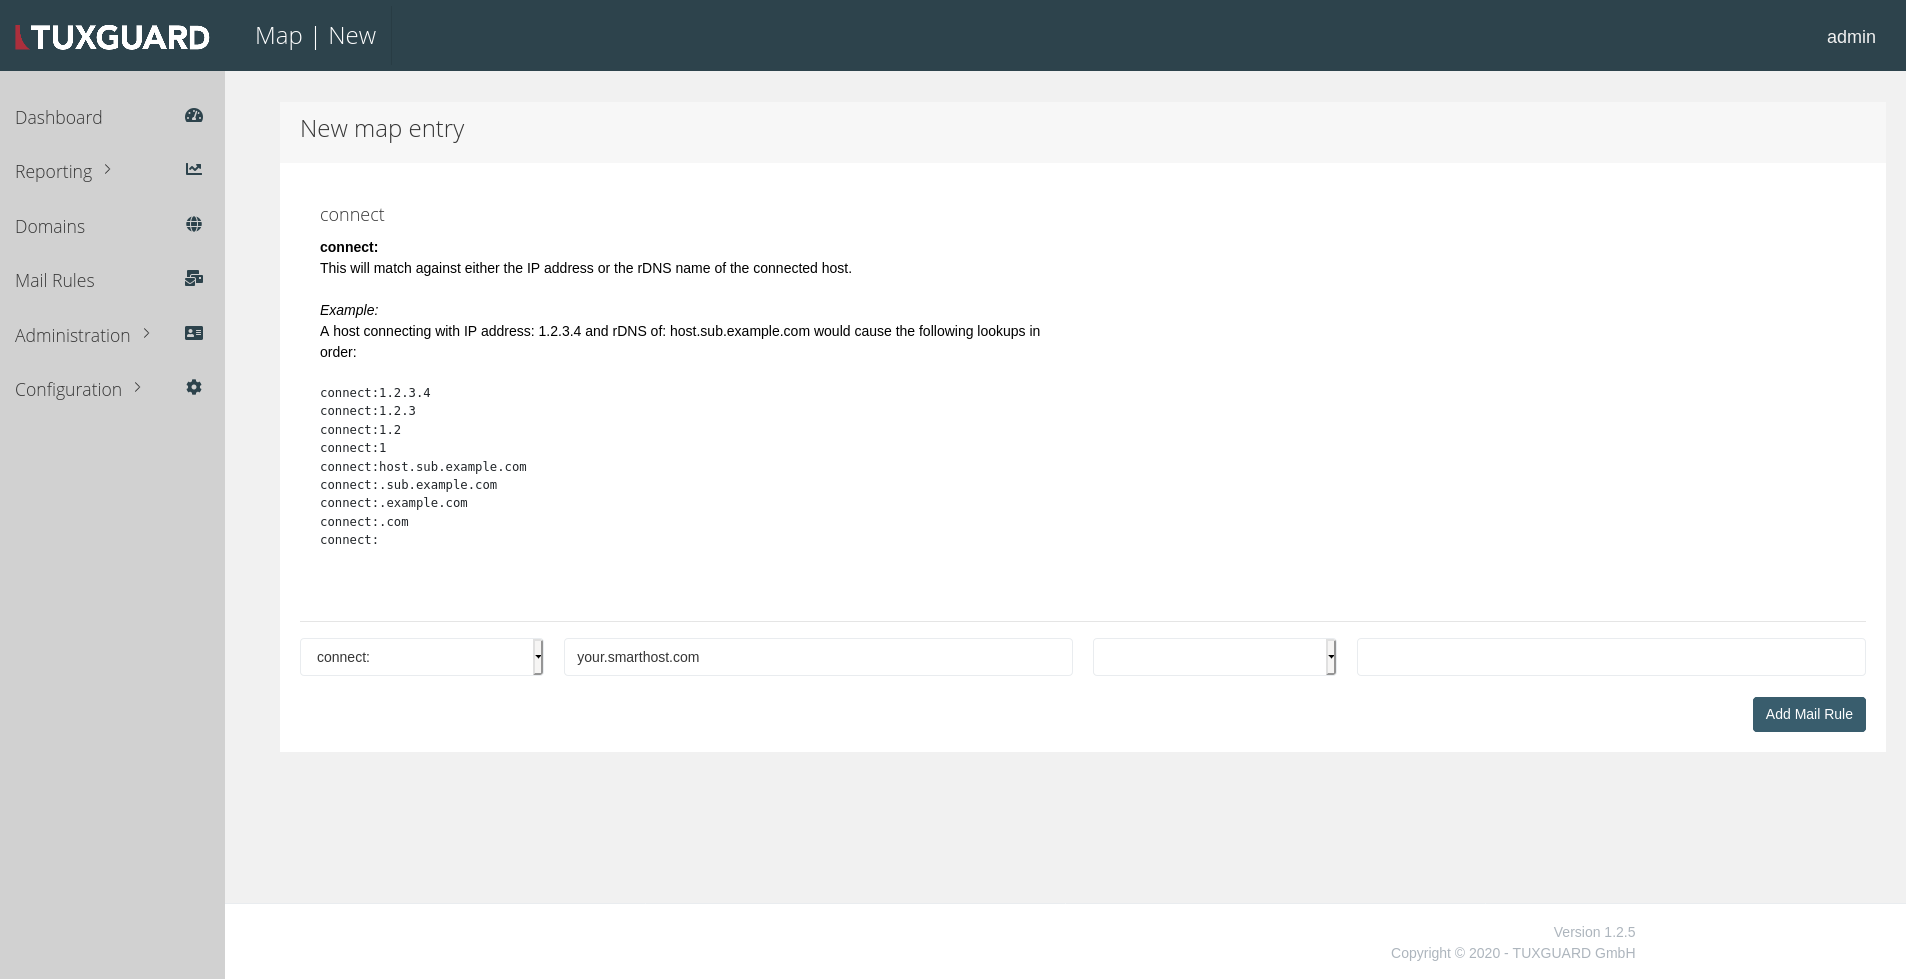
Select "connect:" in the first dropdown and enter your target FQDN or IP-Address into the second input field.
Then click on "Add Mail Rule" which will open a form where sub-rules can be configured
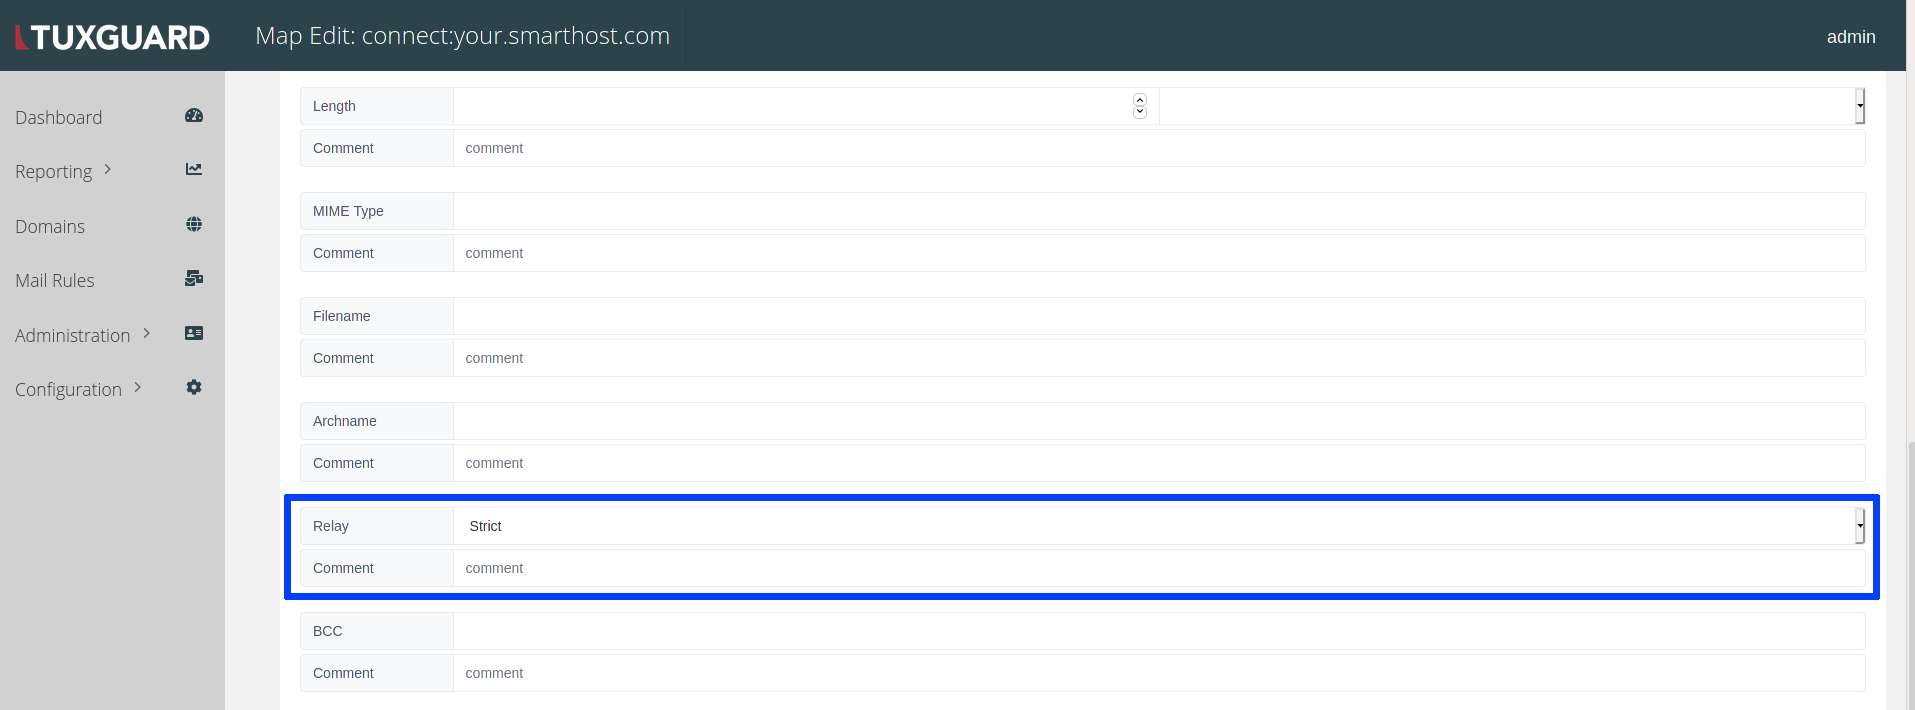
Set the "Relay" subkey to "Strict" and save.
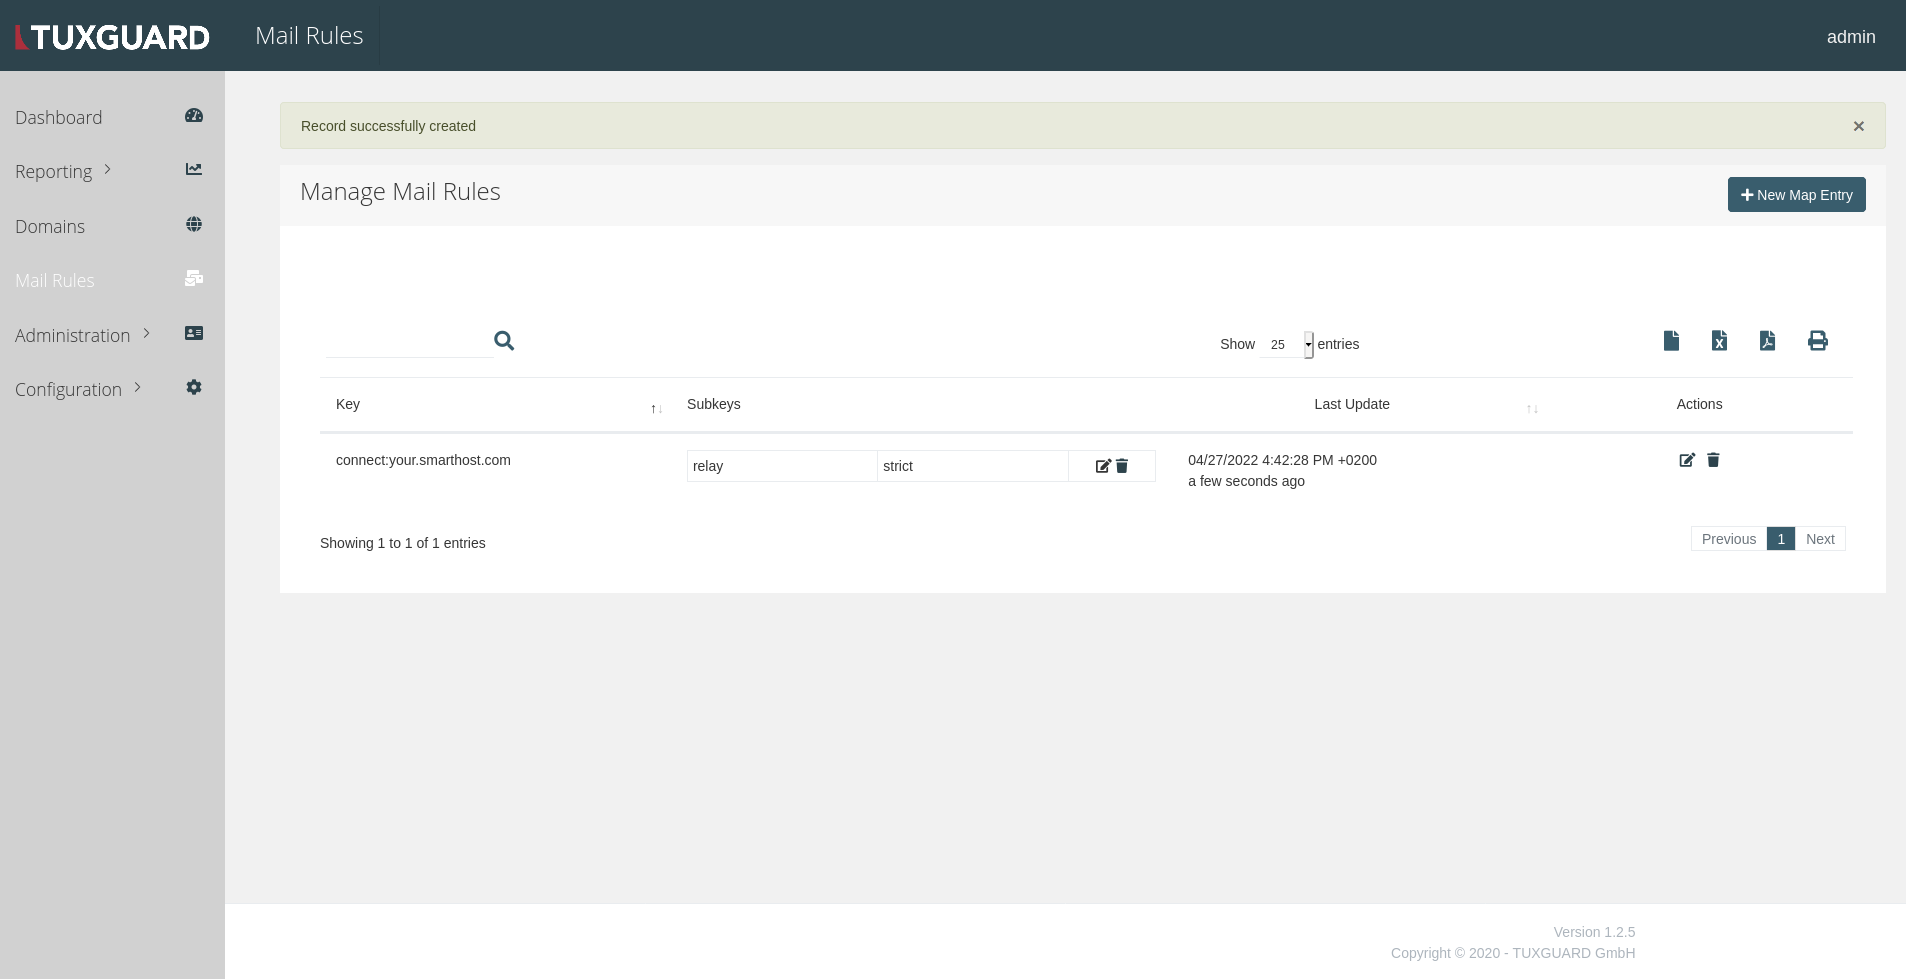
Your Mail Rule will appear in the table and the MTA will allow relaying to the set host.